Our website uses cookies
In order to give you a better service Wallco uses cookies. By continuing to browse the site you are agreeing to our Privacy Policy
In order to give you a better service Wallco uses cookies. By continuing to browse the site you are agreeing to our Privacy Policy
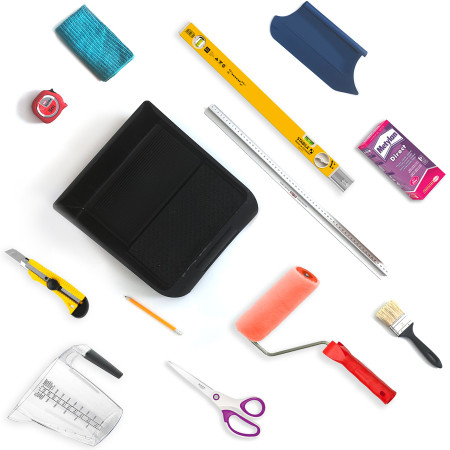
Spirit level and pencil
Bucket and mixing tool
Wallpaper paste (for non-woven wallpaper)
Roller with a tray
Small flat paintbrush
Smoothing tool
Straightedge
Craft knife
Clean damp cloth or sponge
Scissors
Stepladder
Making sure your wall is wallpaper-ready
The surface of the wall should be smooth, clean, and dry − that means no dirt, dust, flaking paint, grease, mildew, or other stains.
You can use a sponge to clean the wall with warm water and mild soap, then let it dry for a minimum of 24 hours.
If the wall does not have a uniform color, you can paint it white to prevent darker areas from showing through.
Remove any nails or screws from the wall and fill in the holes they leave behind.
Use a grinding mesh (or sandpaper) to make any rough areas of the wall smooth again.
Any unevenness on the wall needs to be leveled out.
Surfaces with high levels of water absorption, such as fresh gypsum plasters, plasterboards, or particle boards, should be primed.
Freshly painted walls should be left for 4 weeks before applying wallpaper.
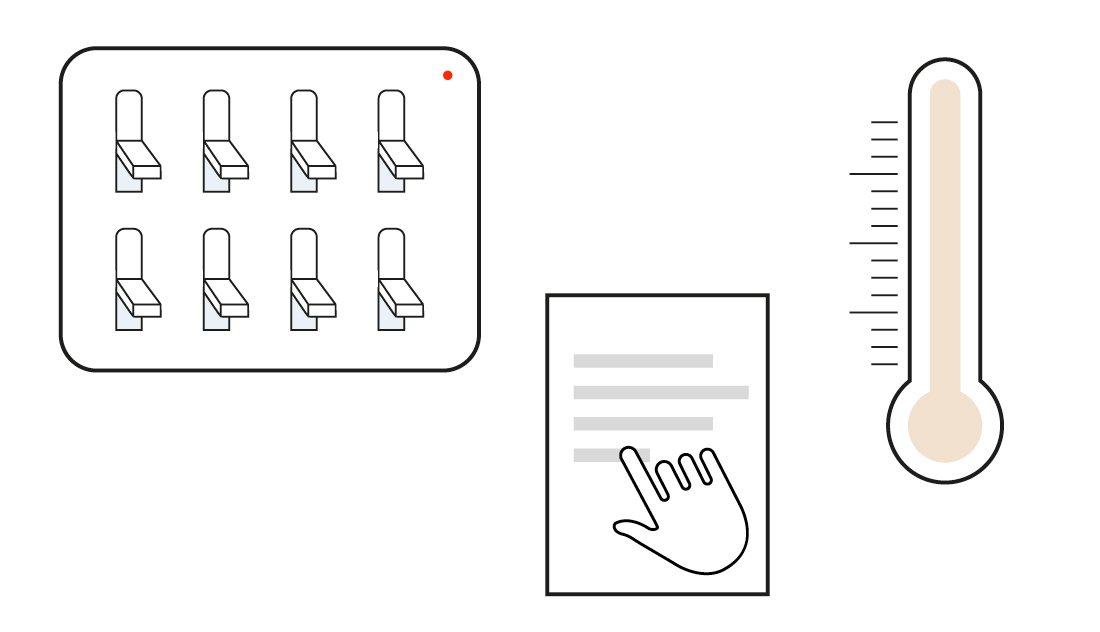
Before you begin
Make sure the room isn’t too hot - you don’t want your wallpaper to dry too fast. If there is a heat source such as a radiator on the wall, turn it down or off and only turn it back on 24 hours after the wallpaper has been hung.
Wall sockets and other obstacles should be removed after electrical power to the room has been shut off. If possible, you may also want to remove any baseboards, chair rails, moldings, or curtain rods the wall may have. You can also keep them attached and wallpaper along their borders.
Unbox your mural and read through the product sheet that arrived with it to make sure everything is clear.
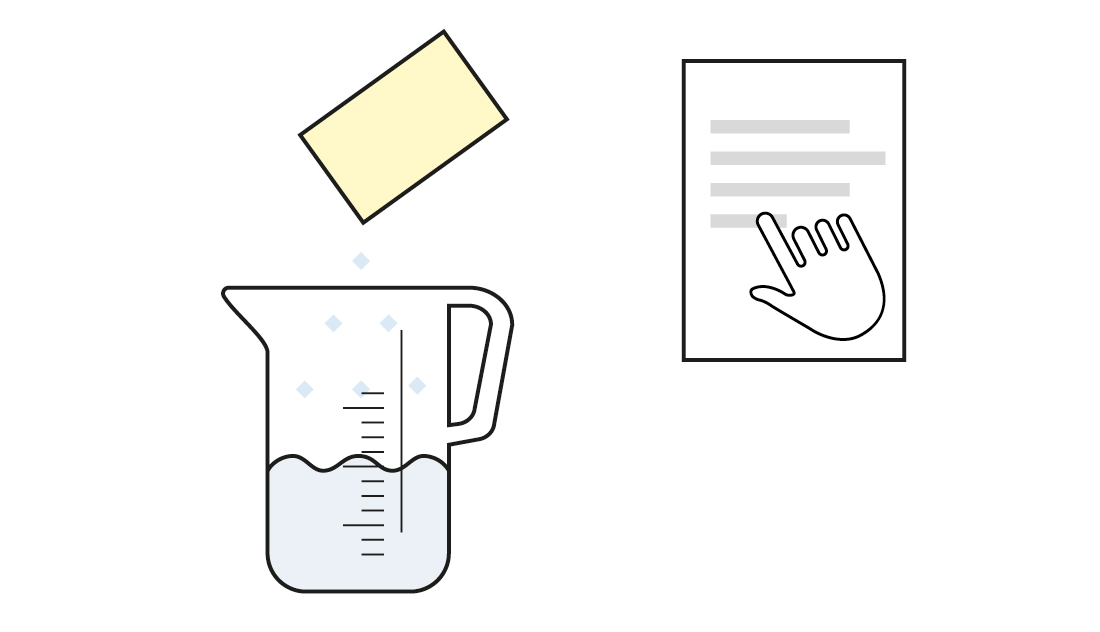
Mixing the paste
Follow the “how to mix” instructions of your wallpaper paste exactly. You’ll first add the adhesive to a bucket with water and mix thoroughly. You may want to first prepare a small amount of paste to apply to the wall to see how much of the paste will be absorbed by its surface. This is how you find out whether the wall needs to be primed.
Whether you’re a DIYer, or you just want to make sure the installation process is carried out properly, you can find lots of useful wallpapering articles with detailed information on our blog under the tag ‘wallpapering’.
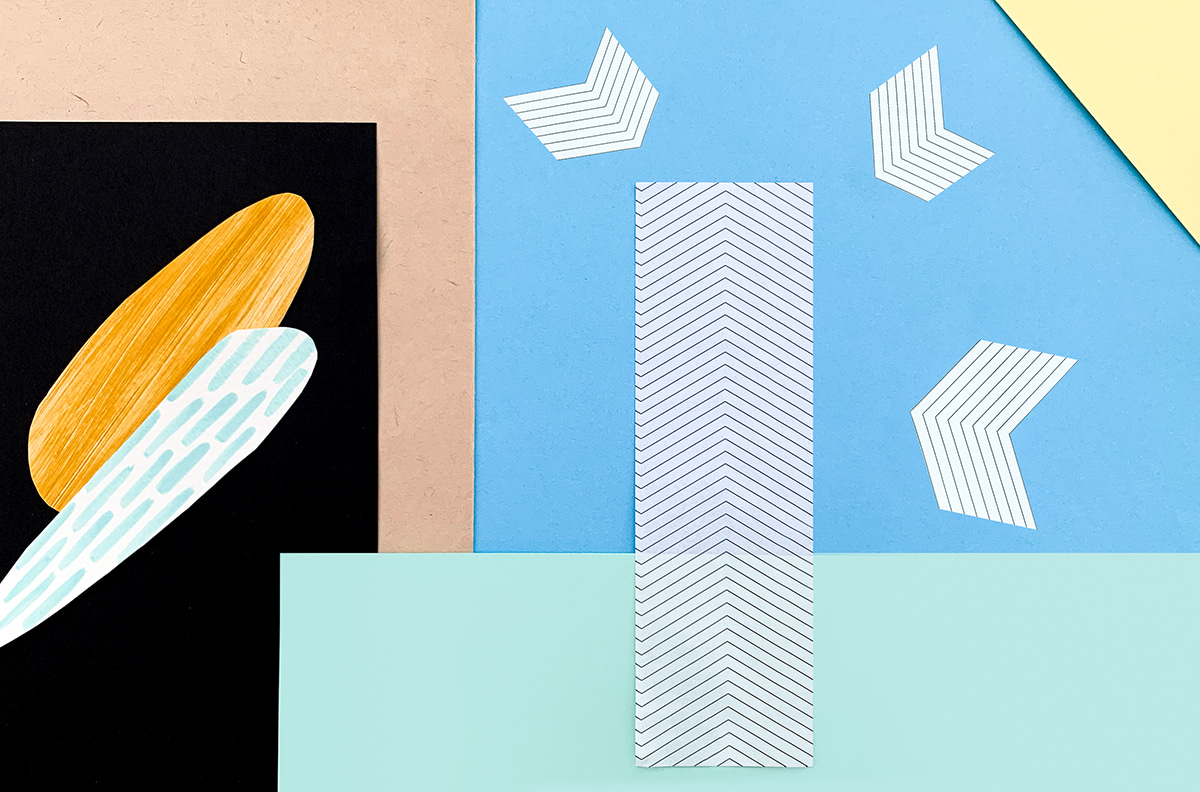
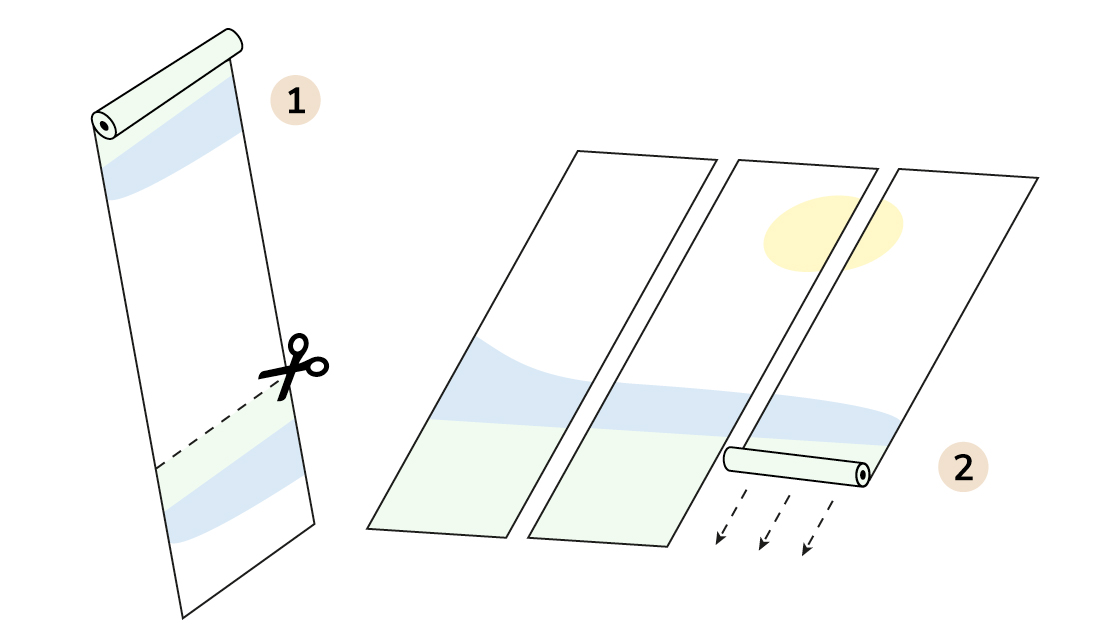
Laying out the panels of your mural
Your mural will arrive in one or more rolls. Unroll each and separate the panels by cutting along the dotted lines. Lay the numbered panels next to each other in hanging order starting with panel number 1. The product sheet for your mural will outline the numbered panels on the mural design. The panels are numbered from left to right.
If you ordered a pattern wallpaper, you will receive a 12 m roll that needs to be cut into shorter strips that will cover the height of your wall. Before cutting each strip, make sure it covers the wall from top to bottom when matched against the previously applied strip.
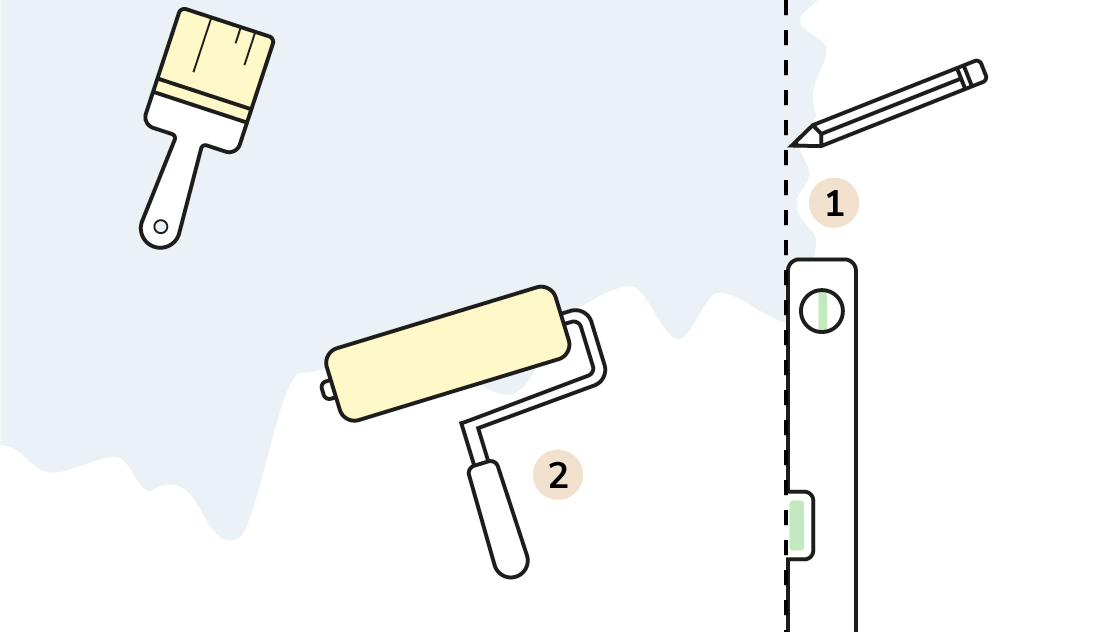
Assuming you hang the panels from left to right, make a pencil mark one panel-width from the top left corner of the wall near the ceiling. Use a spirit level to add more marks moving from the top to the bottom of the wall, then connect the marks into a vertically straight line using a straightedge. Each panel is 50 cm (19.7 inches) wide, so the line will be 50 cm from the left corner of the wall. Add more lines like this all the way to the right end of the wall.
Pasting the wall
Use a roller to apply the paste directly onto the wall, covering the area of the first panel and a portion of the neighboring area. The layer of paste should be smooth and even. You can use a small paintbrush to add paste to parts of the wall along the ceiling and the left corner.
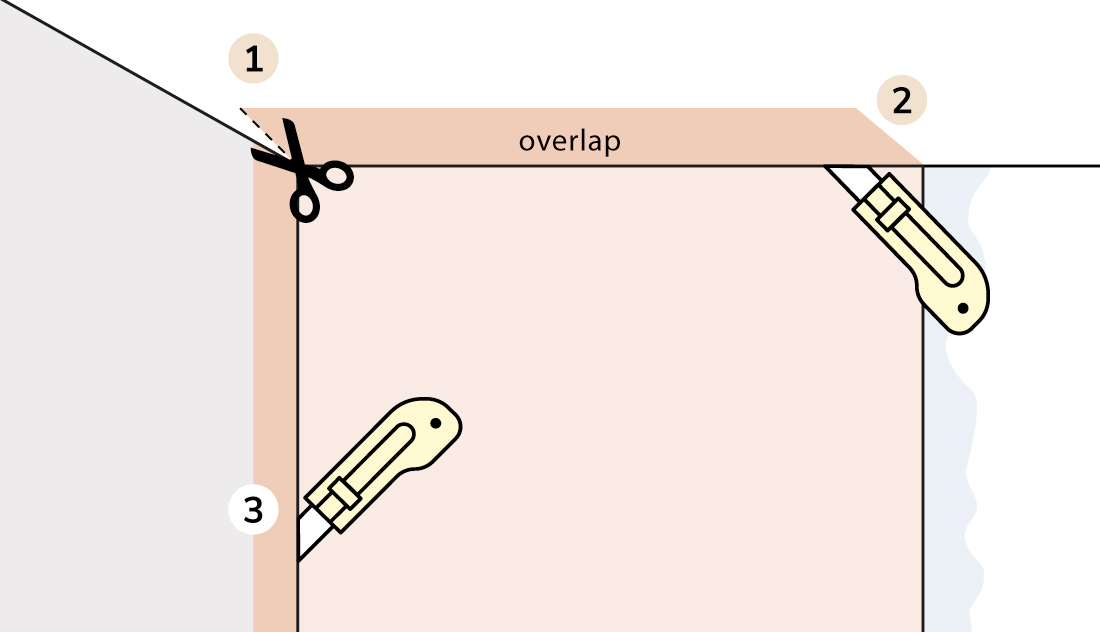
Depending on the width of your wall and your mural, you may want to hang the first panel with a vertical overlap over the left corner of the wall. This would also mean the first vertical pencil line would be less than one panel-width from the left corner of the wall. You may also need to do this if the corner is not perfectly straight, in which case you want the panel to overlap the corner by 2-3 cm. Once the panel is applied, use a straightedge and a craft knife to trim this overlap away.
Hanging the first panel
Each of your panels will be slightly longer than the height of your wall, so make sure you overlap the top of the panel properly over the top edge of the wall. The bottom of your mural design should then also end up overlapping the bottom edge of the wall.
Line up the first panel with the penciled line on the wall and start hanging it from the top of the wall to the bottom, smoothing away any bubbles or ripples from the middle of each panel to its edges. Use a plastic smoothing tool that will be comfortable to work with. Allow the panel to fall naturally, do not pull or stretch its material as you apply it to the wall.
Lining up the remaining panels
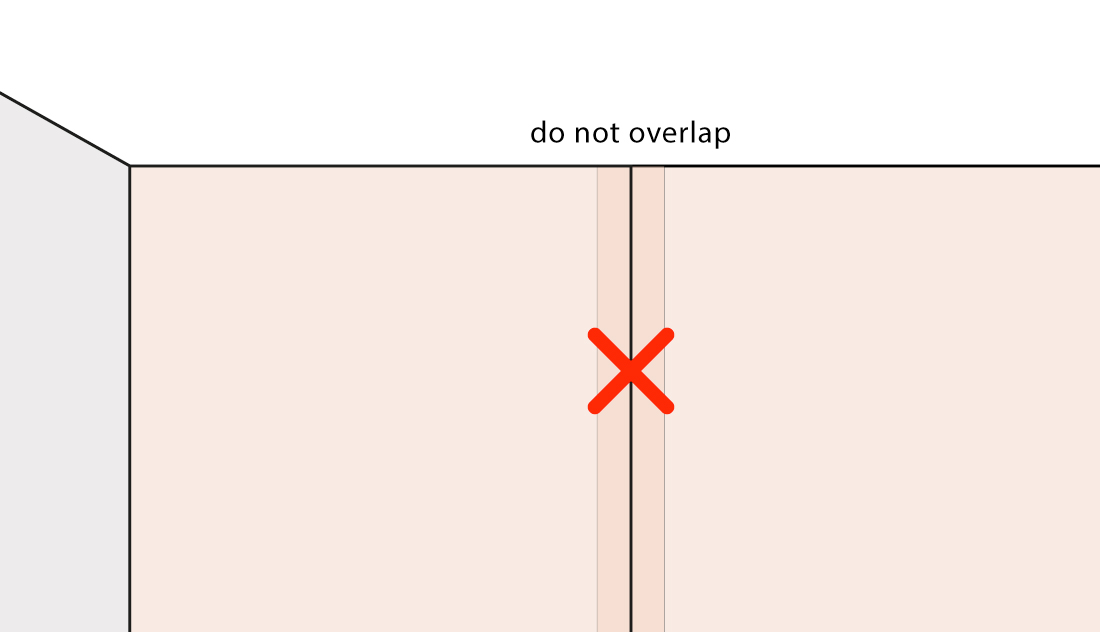
Repeat the last two steps for all the other panels of your mural. The panels should be hung edge-to-edge without any overlapping. When lining up a panel, make sure its design visually matches the design of the neighboring panel, then apply it to the wall and smooth out any air from underneath it. Should any excess paste be pushed out on the surface of the neighboring panel, simply remove the paste with a damp cloth or sponge.
Use a straightedge to trim away the top and bottom parts of each panel that are overlapping over the top and bottom edge of the wall. Use a craft knife with a sharp blade. You will most likely also need to trim the last panel vertically along the right edge of the wall.
Keep the room ventilated and let the wallpaper dry for the next 24 hours.